
Right about here is where I made the worst mistake one can make while installing laminate flooring:

But before my confession: some introduction. Here's what the floor of our addition looked like when we got it back from the construction workers. Note the sea-green tile on the right, the sickly color that had darkened our kitchen for the last five years.


The first step in putting down flooring is removing as much furniture as possible. Here's our living room with a kitchen dumped into it:

Laminate flooring is a genius invention. Tongue and groove planks press together and lock in place. Most of the planks' thickness is fiberboard--a bunch of wood dust pressed into a solid board. A thin veneer of aluminum-impregnated stuff is glued to the top surface. The top surface is waterproof, as is the whole surface of the floor as long as the planks are snapped together tightly.
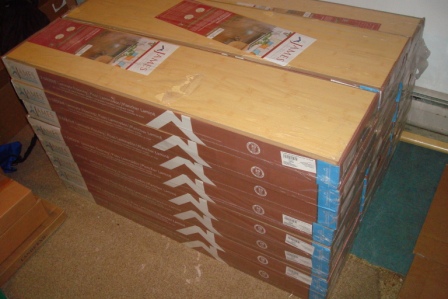
Flooring bought, concrete leveled, sea-green tile definitively out of style, and we're ready to give the kitchen a face lift.

Since our first floor was built right on the slab, we needed a 6-mil moisture barrier under the new flooring. Here's the soon-to-be mud room with the first few courses of new floor over the blue moisture barrier.

Sara and Gwendolyn supervised the project. Gwendolyn learned the definitions of "long," "medium," and "short" as she carried planks to Jay and me. Just out the window you can see the back of Jay's car. Without Jay, I would have botched the job--even more than I did.

The smell of blue polyvinyl and duct tape meant that the new floor was coming. It didn't come quite as quickly as our in-house expert thought, however. We thought six hours would see the job done. But here we are, ready to start the main section, and it's already dark outside.

Even before we started the main section of the kitchen, we could get a feel for how the whole thing would look. Here's a glance at the new-and-improved mud room floor:


With that section done, we could run flooring from the window to the refrigerator, moving course by course toward the sink. Doesn't it look beautiful, even only halfway done?

Which brings us back to this point:
In order to install flooring under the dishwasher, we pulled out the appliance--oh, but let's do one more load of dishes before we lose the convenience, right? When we did that last load of dishes, the machine leaked onto the floor. I sopped up water from that sea-green tile and saw that it had seeped under the moisture barrier. (That's all right--that's why the barrier is there . . . heh, heh.) What I hadn't seen was how the water had slipped between the moisture barrier and the last three courses of flooring.
Ignorant of the future, we finished the rest of the kitchen area. How sweet does this look?

We moved the furniture back in, set up the kitchen appliances (except the dishwasher), and started our daily routine. Forty-eight hours later, the corners of twelve planks began to lift up, making ridges and bumps smack in the center of the kitchen. I went through all the stages of grief ("Aaaaargh!" "No, it's just an optical illusion." "Maybe if I just press down hard enough on this corner . . ." *sigh* "I'm going to have to replace this floor.")
Two weeks later, when I had finally accepted that the fiberboard of ten square feet of planks had irreversibly absorbed that errant water, I stayed up past midnight replacing the floor. In order to replace ten square feet, I had to tear up forty or fifty, since the floor must be picked up and laid down one course at a time. While Sara slept upstairs, I dealt with this:


Before moving into the next room, I began the trim around the kitchen. With the shoe in place, it actually looks like a pro did the job.


Now, with only six hours and about one hundred dollars invested in correcting a basic mistake, we've got a fully functional kitchen and Green Room. All that's left is some trim and re-hanging a couple of doors.

~ emrys
No comments:
Post a Comment